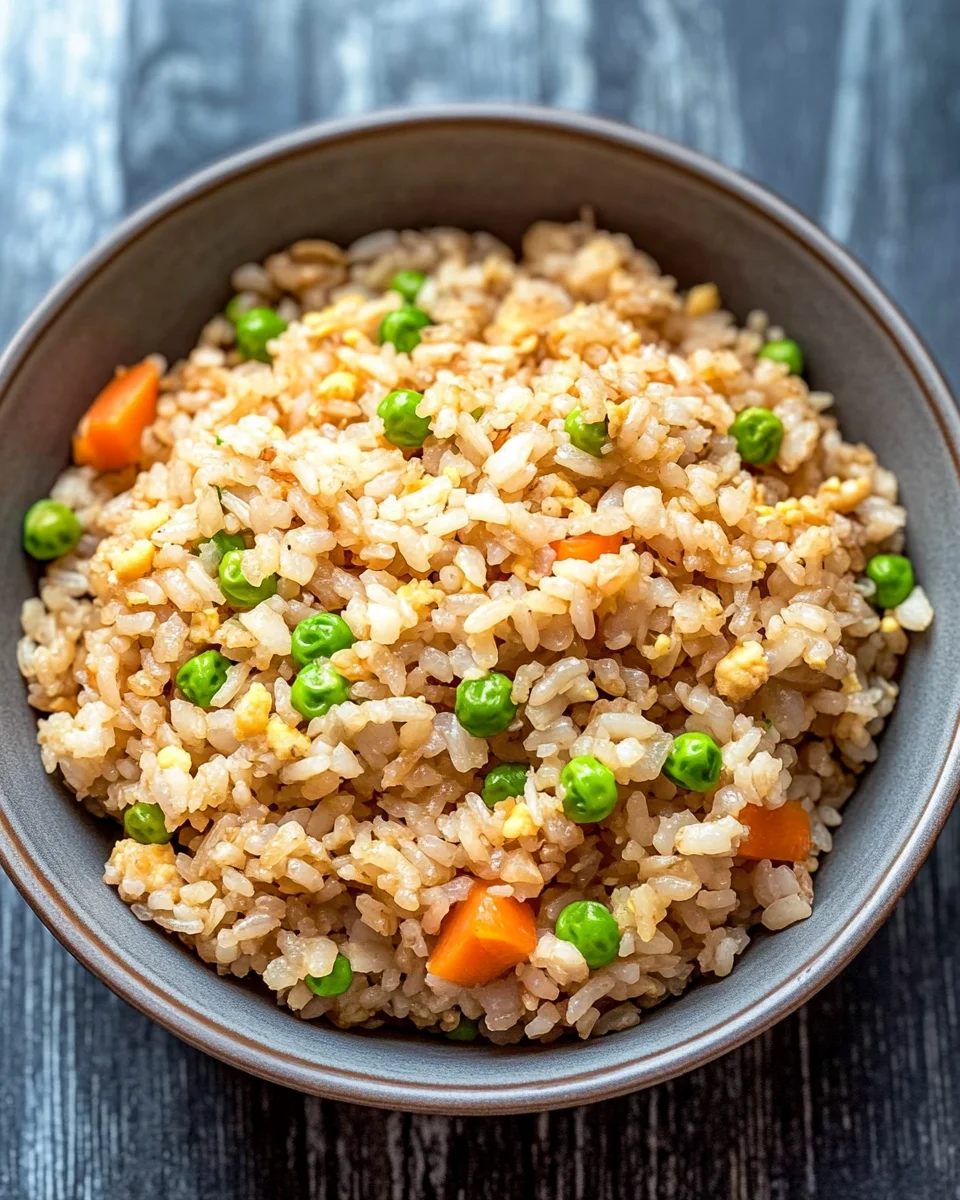
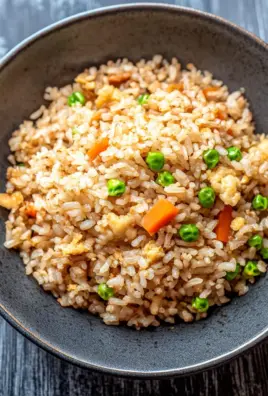
Bring restaurant-quality fried rice to your home with this easy Hibachi-Style Fried Rice recipe! Made with soy sauce, butter, scrambled eggs, and vegetables, this simple yet flavorful dish is ready in just 35 minutes. It’s perfect for a weeknight dinner or a special occasion, easily customizable to suit your taste preferences.
Why You’ll Love This Recipe
- Quick and Easy: This hibachi-style fried rice can be made in just 35 minutes, making it a great choice for busy weeknights.
- Flavorful and Satisfying: The combination of soy sauce and butter adds rich flavor that elevates the dish.
- Versatile Ingredients: Use whatever vegetables you have on hand, or add your favorite protein for a complete meal.
- Perfect for Meal Prep: This dish keeps well in the fridge, making it ideal for leftovers or meal prep.
- Family-Friendly: Kids and adults alike will enjoy this delicious twist on classic fried rice.
Tools and Preparation
To prepare your Hibachi-Style Fried Rice, you’ll need a few essential tools to ensure everything goes smoothly.
Essential Tools and Equipment
- Skillet or wok
- Spatula
- Whisk
- Chopping board
Importance of Each Tool
- Skillet or wok: A large skillet or wok helps distribute heat evenly for perfect frying.
- Spatula: A sturdy spatula makes it easy to break apart rice clumps while cooking.
- Whisk: A whisk is essential for scrambling the egg quickly and evenly.
Ingredients
Rice Base
- 4 cups cooked short-grain white rice (cold, day-old preferred)
- 1 egg, whisked and scrambled
Vegetables
- 1/2 cup chopped carrots (fresh or frozen)
- 1/2 cup frozen peas
- 1/2 cup white onion, diced
Flavor Enhancers
- 4 tablespoons unsalted butter, softened
- 2 tablespoons low-sodium soy sauce
- 2–3 tablespoons neutral oil (peanut, canola, or vegetable oil)
- 2 teaspoons sesame oil (optional)
For Garnish
- 2 tablespoons fresh parsley, finely chopped

How to Make Hibachi-Style Fried Rice
Step 1: Prepare the Rice
Cook rice and chill it for at least 1 hour or overnight. This ensures it’s dry and firm, which is perfect for frying.
Step 2: Make Butter-Soy Sauce
Soften the butter and mash it with the soy sauce. It’s okay if it doesn’t mix completely; the flavor will still be great.
Step 3: Scramble the Egg
Heat 1 tablespoon of oil in a skillet or wok over medium heat. Add the whisked egg:
1. Cook until scrambled.
2. Break it into small pieces.
3. Remove the scrambled egg from the skillet and set aside.
Step 4: Sauté Vegetables
Add another splash of oil to the skillet:
1. Cook the carrots, peas, and onion for about 4 minutes while stirring occasionally until tender.
2. Season with salt and pepper.
3. Remove from heat and set aside.
Step 5: Fry the Rice
Heat another tablespoon of oil in the skillet:
1. Add the cold rice, breaking apart any clumps with your spatula.
2. Stir-fry for about 4–5 minutes, tossing frequently to warm through.
Step 6: Season the Rice
Pour the butter-soy sauce mixture over the rice:
1. Toss to coat evenly.
2. Cook until there are no visible white grains.
Step 7: Combine and Serve
Return the scrambled egg and sautéed veggies to the skillet:
1. Drizzle with sesame oil if desired.
2. Stir everything together until well combined.
3. Adjust seasoning with more soy sauce if needed and serve immediately.
Enjoy your homemade Hibachi-Style Fried Rice!
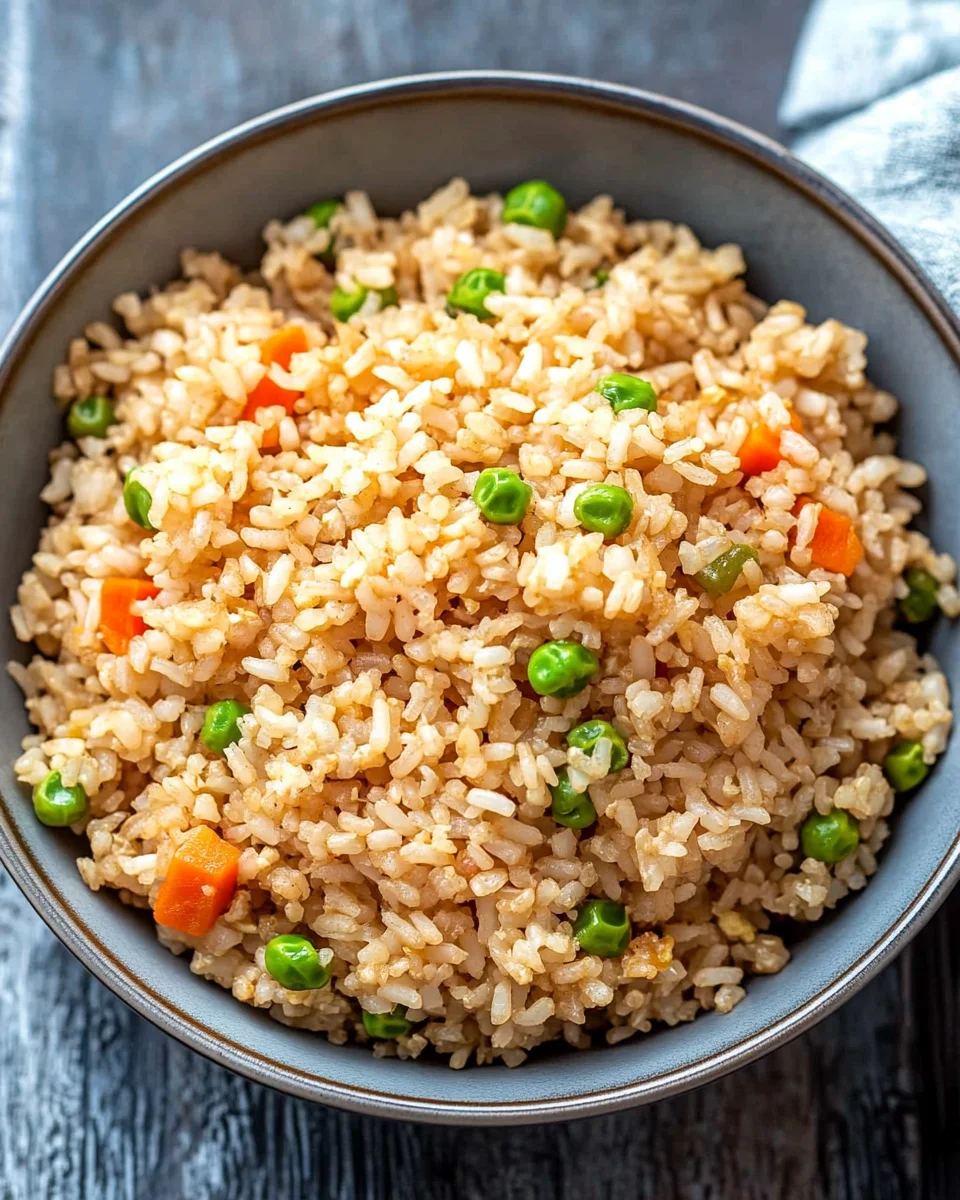
How to Serve Hibachi-Style Fried Rice
Hibachi-Style Fried Rice is not just a delicious dish; it’s also versatile. You can serve it in various ways to enhance your meal experience. Here are some fantastic serving suggestions that will elevate your hibachi-inspired feast.
Pair with Grilled Proteins
- Steak: Juicy grilled steak pairs beautifully with the savory flavors of fried rice.
- Chicken: Marinated and grilled chicken adds a tasty protein boost.
- Shrimp: Quick-cooked shrimp complements the rice’s texture and flavor.
Serve as a Bowl
- Rice Bowl: Create a rice bowl by layering hibachi-style fried rice with fresh veggies and your choice of protein.
- Salad Base: Use the fried rice as a base for a refreshing salad topped with grilled chicken and avocado.
Add Fresh Garnishes
- Green Onions: Chopped green onions add a fresh crunch and pop of color.
- Sesame Seeds: A sprinkle of toasted sesame seeds enhances the nutty flavor of the dish.
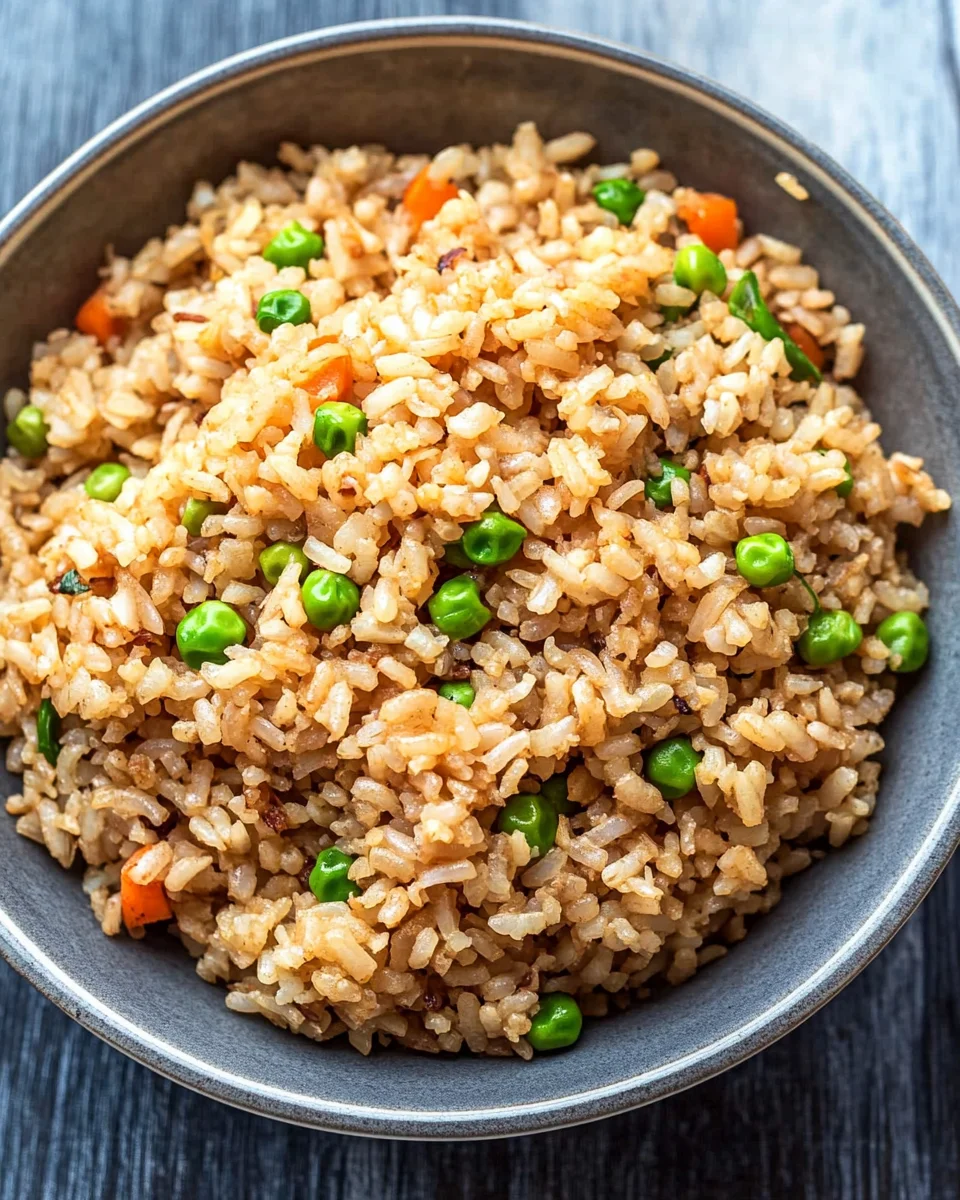
How to Perfect Hibachi-Style Fried Rice
Making perfect hibachi-style fried rice requires attention to detail and some helpful tips. Follow these guidelines to achieve restaurant-quality results at home.
- Use Day-Old Rice: This prevents clumping and ensures each grain fries up nicely.
- Don’t Overcrowd the Pan: Fry in batches if needed, allowing the rice to brown properly.
- High Heat Cooking: Cook over high heat for that authentic smoky flavor typical of hibachi cooking.
- Prep Ingredients Ahead: Have all vegetables and proteins ready before you start cooking to streamline the process.
- Season Well: Taste as you go, adjusting soy sauce or salt for perfect seasoning.
Best Side Dishes for Hibachi-Style Fried Rice
Complementing your hibachi-style fried rice with delicious sides can make your meal even better. Here are some excellent side dishes that work perfectly alongside this flavorful dish.
- Miso Soup: A light, savory soup that pairs well with the richness of fried rice.
- Edamame: Steamed edamame pods provide a healthy snack option that’s easy to prepare.
- Japanese Pickles: A colorful assortment adds tanginess and crunch, balancing the flavors.
- Tempura Vegetables: Crispy tempura vegetables bring texture and variety to your meal.
- Grilled Zucchini Skewers: Lightly seasoned zucchini skewers offer a fresh taste that complements the fried rice.
- Seaweed Salad: A refreshing seaweed salad adds an umami kick while enhancing presentation.
Common Mistakes to Avoid
Cooking hibachi-style fried rice can be simple, but there are a few common mistakes to watch out for.
- Using Fresh Rice: Day-old rice is best for frying. Freshly cooked rice is often too moist and sticky, making it hard to achieve the desired texture.
- Not Prepping Ingredients: Failing to prepare ingredients ahead of time can lead to uneven cooking. Chop vegetables and have all ingredients ready before you start.
- Overcrowding the Pan: Adding too much rice or too many ingredients at once can lower the pan’s temperature. This results in steaming rather than frying. Work in batches if necessary.
- Skipping Seasoning Adjustments: Not tasting and adjusting the seasoning can lead to bland fried rice. Always taste your dish before serving and modify with soy sauce as needed.
- Neglecting Heat Control: Cooking on low heat won’t give you that nice char. Make sure to use medium-high heat while cooking to achieve that signature hibachi flavor.
Storage & Reheating Instructions
Refrigerator Storage
-
- Duration: Store hibachi-style fried rice in the fridge for up to 4 days.
-
- Containers: Use airtight containers to keep it fresh and prevent drying out.
Freezing Hibachi-Style Fried Rice
-
- Duration: You can freeze it for up to 3 months.
-
- Containers: Use freezer-safe bags or containers, removing as much air as possible.
Reheating Hibachi-Style Fried Rice
- Oven: Preheat your oven to 350°F (175°C). Spread the fried rice in an even layer in a baking dish. Cover with foil and heat for about 15-20 minutes.
- Microwave: Place a portion in a microwave-safe bowl, cover, and heat on high for 1-2 minutes, stirring halfway through until heated thoroughly.
- Stovetop: Heat a skillet over medium heat, add a splash of oil, and stir-fry the rice until hot, about 5 minutes.
Frequently Asked Questions
What is Hibachi-Style Fried Rice?
Hibachi-style fried rice is a Japanese-inspired dish made with cooked rice, vegetables, eggs, and soy sauce. It’s known for its flavorful taste and quick cooking method.
Can I use different vegetables in Hibachi-Style Fried Rice?
Absolutely! You can customize it by adding bell peppers, broccoli, or any preferred vegetables. Just ensure they are chopped small for even cooking.
How do I make Hibachi-Style Fried Rice vegan?
To make this dish vegan, omit the egg and use vegetable oil instead of butter. You can also add tofu for protein.
What proteins pair well with Hibachi-Style Fried Rice?
Chicken, shrimp, beef, or tofu are great options. They complement the flavors well and make the meal more filling.
How can I spice up my Hibachi-Style Fried Rice?
For extra flavor, consider adding garlic or ginger while sautéing vegetables. You might also try chili flakes or sriracha for some heat.
Final Thoughts
Hibachi-style fried rice is not only quick and easy but also incredibly versatile! It pairs wonderfully with various proteins or stands alone as a satisfying vegetarian meal. Feel free to customize it with your favorite veggies or sauces to suit your taste preferences.

Hibachi-Style Fried Rice
- Total Time: 35 minutes
- Yield: Serves about 4 people 1x
Description
Bring the flavors of your favorite Japanese steakhouse home with this quick and easy Hibachi-Style Fried Rice recipe. In just 35 minutes, you can create a delicious, restaurant-quality dish that’s perfect for busy weeknights or special occasions. This versatile fried rice is packed with flavor from soy sauce and butter, complemented by scrambled eggs and colorful vegetables. Customize it by adding your favorite proteins or using whatever veggies you have on hand. It’s not just a meal; it’s an experience that the whole family will love!
Ingredients
- 4 cups cooked short-grain white rice (cold)
- 1 egg
- 1/2 cup chopped carrots
- 1/2 cup frozen peas
- 1/2 cup diced white onion
- 4 tablespoons unsalted butter
- 2 tablespoons low-sodium soy sauce
- 2–3 tablespoons neutral oil
Instructions
- Prepare rice: Cook and chill the rice for at least an hour.
- Make butter-soy sauce: Blend softened butter with soy sauce in a bowl.
- Scramble egg: Heat oil, add whisked egg, scramble, and set aside.
- Sauté vegetables: Cook carrots, peas, and onion until tender; season with salt and pepper.
- Fry rice: Heat oil, add cold rice, breaking up clumps as you stir-fry until warmed through.
- Season rice: Pour butter-soy mixture over rice and toss to coat evenly.
- Combine: Return scrambled egg and veggies to the skillet; mix well before serving.
- Prep Time: 10 minutes
- Cook Time: 25 minutes
- Category: Main
- Method: Frying
- Cuisine: Japanese
Nutrition
- Serving Size: 1 cup (200g)
- Calories: 350
- Sugar: 2g
- Sodium: 600mg
- Fat: 14g
- Saturated Fat: 7g
- Unsaturated Fat: 6g
- Trans Fat: 0g
- Carbohydrates: 45g
- Fiber: 2g
- Protein: 8g
- Cholesterol: 70mg


Leave a Comment