The Art of Cooking Cast Iron Chicken Breast
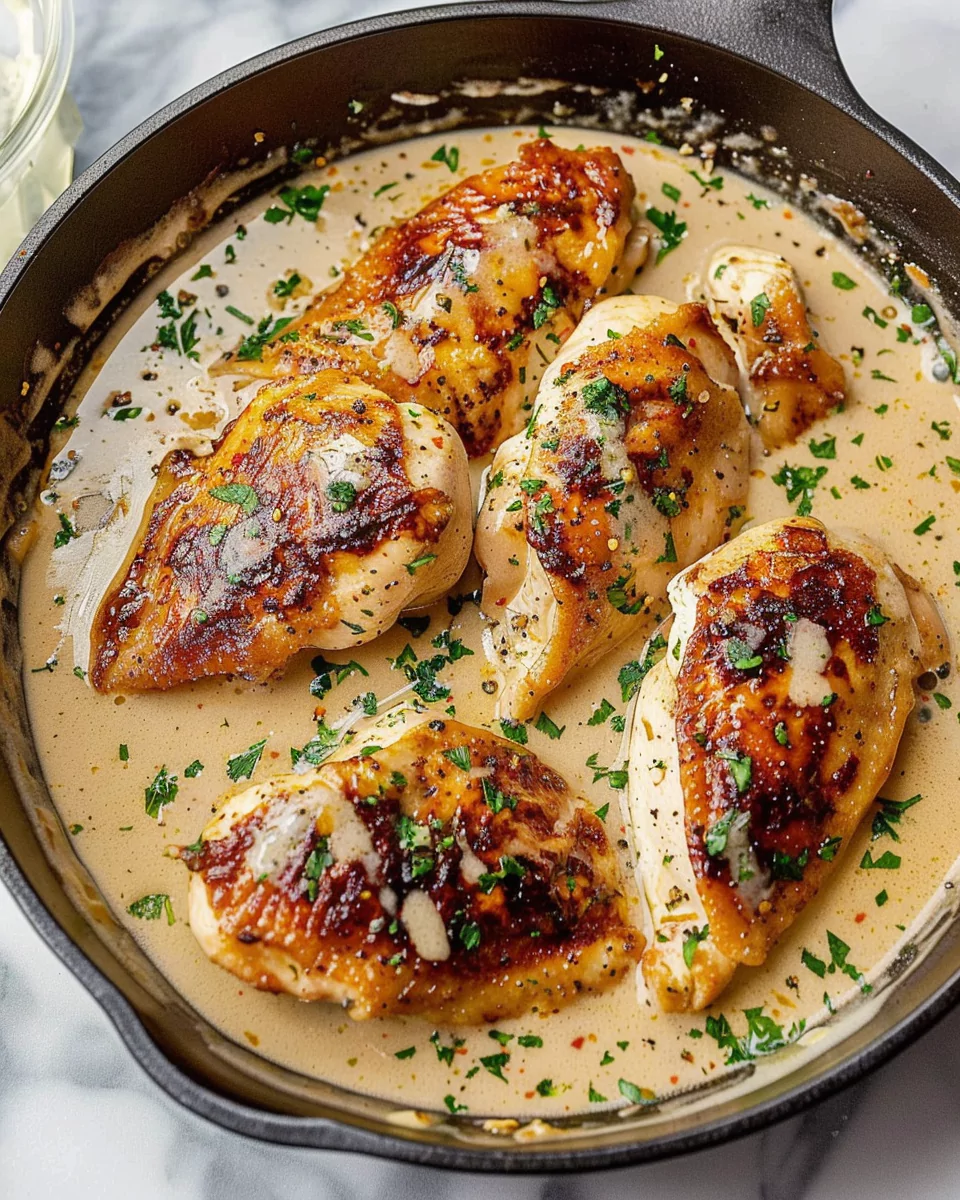
This classic recipe for cast iron chicken breast will provide a juicy, flavorful meal with a beautifully seared exterior. Follow these simple ingredients and directions for a dish that’s perfect for any occasion.
Ingredients:
- 2 boneless, skinless chicken breasts
- 2 tablespoons olive oil or avocado oil
- Salt, to taste
- Freshly ground black pepper, to taste
- 1 teaspoon garlic powder
- 1 teaspoon smoked paprika (optional for added flavor)
- 1 tablespoon unsalted butter
- 2 cloves garlic, minced
- 1/2 cup chicken broth
- Juice of 1 lemon
- Fresh herbs (such as thyme, rosemary, or parsley) for garnish
Directions:
- Prepare the Chicken: If the chicken breasts are very thick, use a meat mallet to pound them to an even thickness. This helps them cook evenly.
- Season: Pat the chicken dry with paper towels. Season both sides generously with salt, pepper, garlic powder, and smoked paprika if using.
- Preheat the Skillet: Place your cast iron skillet on the stove over medium-high heat. Allow it to heat up for a few minutes until it’s hot but not smoking.
- Cook the Chicken: Add the olive oil or avocado oil to the skillet. Once the oil is shimmering, carefully place the chicken breasts in the skillet. Cook without moving them for about 5-7 minutes on one side, until a golden crust has formed.
This simple yet delicious recipe showcases the versatility and efficiency of cooking with a cast iron skillet. The chicken comes out perfectly seared on the outside and tender and juicy on the inside, with a flavorful sauce that’s perfect for drizzling over the top.
Enjoy your cast iron chicken breast with a side of roasted vegetables, mashed potatoes, or a fresh salad for a complete meal.
Cooking a chicken breast in a cast iron skillet is a culinary technique that combines simplicity with the potential for extraordinary flavor. This method, beloved by chefs and home cooks alike, transforms a humble piece of poultry into a succulent, golden-brown delight.
The key to mastering this dish lies in understanding the unique properties of cast iron and the nuances of chicken breast as an ingredient.
Selecting the Right Chicken Breast
The journey to a perfect cast iron chicken breast begins at the market. Choosing the right chicken breast is crucial; look for pieces that are uniform in size to ensure even cooking. The color should be a healthy pink, indicating freshness. Organic and free-range options, while sometimes more expensive, can offer superior taste and texture, as well as ethical peace of mind.
Preparing Your Chicken Breast
Preparation is a step that should not be overlooked. Begin by patting the chicken dry with paper towels to remove excess moisture. This is essential for achieving a crisp sear. Next, tenderize the chicken to an even thickness using a meat mallet. This not only helps it cook evenly but also breaks down fibers, making the chicken more tender.
Seasoning the chicken is where you can begin to personalize the dish. A simple seasoning of salt and freshly ground black pepper can be sublime, but don’t hesitate to experiment with other spices and herbs. Garlic powder, smoked paprika, and rosemary can add depth and character to the flavor profile.
The Cast Iron Skillet
The cast iron skillet is a workhorse in the kitchen, known for its excellent heat retention and distribution. These properties make it ideal for cooking chicken breast, allowing for a consistent sear that locks in moisture. Before cooking, place the skillet on the stove over medium heat to warm up. This preheating step is critical for preventing sticking and ensuring a beautiful, golden crust.
When the skillet is hot, add a thin layer of oil with a high smoke point, such as avocado or grapeseed oil. These oils can withstand the high temperatures needed for searing without burning, unlike olive oil, which can impart a bitter taste at high heat.
Cooking the Chicken Breast
Place the seasoned chicken breast in the skillet, being careful not to overcrowd the pan. The chicken should sizzle upon contact if the skillet is properly heated. Cook the chicken for about 7 minutes on one side, then flip it using tongs.
The goal is to achieve a deep golden-brown crust on both sides while ensuring the chicken is cooked through to a safe internal temperature of 165°F (74°C).
One of the advantages of using a cast iron skillet is the ability to create a pan sauce after cooking the chicken. Once the chicken is done, remove it from the skillet and let it rest. In the same skillet, add a splash of wine, chicken broth, or even water to deglaze the pan, scraping up the browned bits with a wooden spoon. These bits are packed with flavor and will enrich your sauce. You can also add aromatics like garlic, shallots, or herbs to the sauce, simmering until it’s reduced and flavorful.
In the next part, we’ll explore how to serve and pair your cast iron chicken breast, ensuring a memorable dining experience.
Serving and Pairing Cast Iron Chicken Breast
Once you’ve mastered the art of cooking chicken breast in a cast iron skillet, the next step is to present and pair it in a way that complements its rich flavors and succulent texture. The beauty of a perfectly cooked chicken breast lies not only in its taste but also in its versatility. It can be the star of the plate or a complementary protein alongside more complex flavors and textures.
Resting the Chicken
An often overlooked but crucial step in cooking chicken breast is allowing it to rest after it’s removed from the skillet. This resting period lets the juices redistribute throughout the meat, ensuring that each bite is moist and flavorful. A good rule of thumb is to let the chicken rest for about 5 to 10 minutes before slicing. This pause not only enhances the chicken’s juiciness but also makes it easier to slice.
Slicing and Presentation
When it’s time to slice the chicken, consider the dish’s overall presentation. Thin, even slices laid out on a platter can be visually appealing and make for easy serving. Alternatively, serving the chicken breast whole on individual plates, perhaps atop a bed of grains or vegetables, can make for a more dramatic presentation. Garnish with fresh herbs or a drizzle of the pan sauce created from the skillet’s fond to add color and enhance flavor.
Pairing with Sides
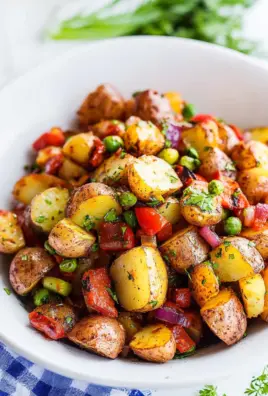
The sides chosen to accompany your cast iron chicken breast can vary widely depending on personal preference and the season. For a light, healthful meal, consider pairing the chicken with a crisp green salad dressed with a vinaigrette that echoes the chicken’s seasoning. Roasted vegetables, such as Brussels sprouts or sweet potatoes, offer a heartier option and can be cooked in the oven while you prepare the chicken.
For a more indulgent meal, consider creamy mashed potatoes or a rich risotto. These starches provide a comforting base for the chicken and can be flavored in myriad ways to match the dish’s overall profile.
Wine and Beverage Pairings
The right beverage can elevate your cast iron chicken breast from a simple meal to a culinary experience. White wines, particularly those with a good balance of acidity and fruitiness, such as Chardonnay or Sauvignon Blanc, complement the chicken’s richness without overwhelming its flavors. For red wine enthusiasts, a light Pinot Noir can pair beautifully, offering a contrast to the chicken’s savory notes without overpowering the dish.
Non-alcoholic options, such as a lemon-infused sparkling water or an herbal iced tea, can also complement the chicken’s flavors, offering refreshment and balance to the meal.
Exploring Flavors
The versatility of cast iron chicken breast invites experimentation with flavors and ingredients from various cuisines. Incorporating spices like turmeric, cumin, or coriander can lend an Indian or Middle Eastern flair to the dish, while a glaze of soy sauce, ginger, and garlic can take it in an Asian direction. The key is to balance the seasoning of the chicken with the sides and sauces to create a cohesive dish that delights the palate.
In the next part, we’ll delve into advanced techniques and variations to further enhance your cast iron chicken breast dishes, exploring marinades, brining, and alternative cooking methods to keep your culinary journey exciting and diverse.
Advanced Techniques and Variations for Cast Iron Chicken Breast
Expanding your culinary repertoire with advanced techniques and variations can transform your cast iron chicken breast dishes into a myriad of global flavors and textures. Exploring marinades, brining, and alternative cooking methods not only enhances the taste but also the overall dining experience. Let’s dive into some of these techniques and how they can elevate your chicken dishes.
Marinades and Brining
Marinating or brining your chicken breast before cooking can infuse it with additional flavors and moisture, making the meat even more tender and juicy.
- Marinades: A good marinade combines acid (like lemon juice or vinegar), oil, and herbs/spices. Acid helps to tenderize the meat, while oil adds moisture, and the herbs and spices infuse flavor. For best results, marinate the chicken for at least 30 minutes, or up to 12 hours in the refrigerator. Always discard the marinade after use, as it contains raw chicken juices.
- Brining: A brine is a saltwater solution that hydrates the cells of the chicken muscle tissues before cooking, resulting in juicier meat. A basic brine is made with water and salt, but sugar and spices can be added for extra flavor. Brining for a few hours, or even overnight, can make a significant difference in the texture of the chicken.
Cooking Techniques Beyond Searing
While searing is a fundamental technique for cooking chicken in a cast iron skillet, there are other methods to explore:
- Roasting: After searing the chicken breast on the stovetop, you can finish cooking it in the oven. This method is particularly effective for thicker cuts, ensuring that the chicken cooks evenly without burning the exterior. Preheat your oven and transfer the skillet to the oven to finish cooking.
- Braising: For an ultra-tender chicken breast, try braising. After searing, add a small amount of liquid (such as broth, wine, or a combination), cover the skillet with a lid or foil, and simmer on low heat. The chicken will cook slowly in the liquid, absorbing flavors and becoming exceptionally tender.
Flavor Variations
Experimenting with different flavor profiles can turn the simple act of cooking chicken breast into an exploration of world cuisines:
- Mediterranean: Use a marinade of olive oil, lemon juice, garlic, and herbs like oregano and thyme. Serve with a side of quinoa salad and a dollop of tzatziki.
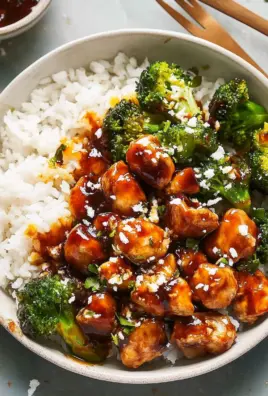
- Asian-Inspired: Marinate the chicken in soy sauce, sesame oil, ginger, and garlic. Serve with stir-fried vegetables and rice for a complete meal.
- Latin Flavors: Create a marinade with lime juice, cilantro, and chili powder. Pair the cooked chicken with black beans, rice, and avocado for a flavorful feast.
Utilizing Leftovers
Cast iron chicken breast is just as delicious the next day and can be repurposed in various ways:
- Salads: Slice or shred the chicken and add it to your favorite greens for a protein-packed salad.
- Sandwiches and Wraps: Combine leftover chicken with fresh vegetables and a flavorful sauce for a quick and satisfying lunch.
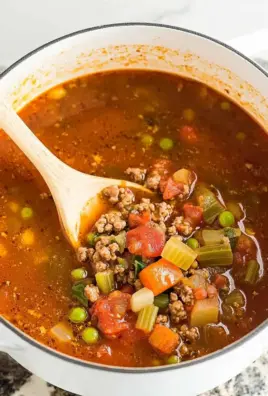
- Soups and Stews: Cut the chicken into bite-sized pieces and add it to soups or stews during the last few minutes of cooking to heat through.
In the final part of this series, we’ll cover tips for maintaining your cast iron skillet, ensuring it remains a reliable tool in your culinary adventures for years to come.
Maintaining Your Cast Iron Skillet for Perfect Chicken Every Time
A cast iron skillet is an invaluable tool in the kitchen, especially for cooking chicken breast to perfection. However, its longevity and performance depend on proper care and maintenance. Here’s how to keep your cast iron in top condition, ensuring it continues to produce beautifully seared chicken breasts and other dishes for years to come.
Seasoning Your Cast Iron Skillet
Seasoning is the process of baking oil onto the cast iron to create a natural, non-stick surface. This not only prevents rust but also enhances the skillet’s cooking capabilities over time.
- Initial Seasoning: If your skillet isn’t pre-seasoned, wash it with warm, soapy water (this is one of the few times you’ll use soap on it), dry thoroughly, then coat it inside and out with a thin layer of vegetable oil.
- Bake it upside down in a preheated 375°F oven for an hour, placing a sheet of aluminum foil below to catch drips. Let it cool in the oven.
- Regular Maintenance: After each use, while the skillet is still warm, rinse it with hot water and use a brush or non-abrasive scrubber to remove any food particles. Dry it thoroughly with a towel or on the stove over low heat. Apply a very light coat of oil before storing.
Cleaning After Cooking
Proper cleaning is crucial to maintain the seasoning and prevent rust. Avoid using soap, as it can strip the skillet’s seasoning. For stubborn bits, simmer a little water in the pan for a few minutes, then use a wooden spoon to scrape them off. For rust spots or to refresh a neglected skillet, use steel wool to scrub it back to bare metal, then re-season as described above.
Storing Your Skillet
Moisture is the enemy of cast iron, so ensure your skillet is completely dry before storing it. Avoid stacking other pans directly on the cooking surface of the skillet; if you must stack due to space constraints, place a paper towel or a layer of cloth between them to protect the seasoning.
Troubleshooting Common Issues
- Sticking: If food starts sticking, your skillet may need to be re-seasoned. Increase the frequency of oiling after cooking.
- Rust: Rust indicates either that the skillet has been left wet or that its seasoning has been compromised. Remove rust with steel wool, then re-season.
- Uneven Heating: Cast iron heats slowly and retains heat well. Always allow it ample time to preheat to avoid hot spots and ensure even cooking.
By following these care and maintenance tips, your cast iron skillet will develop a rich patina and non-stick surface that improves with age. This makes it the ideal tool for cooking not only chicken breast but also a wide array of dishes, from pancakes to pizzas, steaks to stir-fries. The more you use your cast iron, the better it performs, making it a cherished heirloom in many kitchens.
Cooking cast iron chicken breast is just the beginning of the culinary adventures possible with this versatile kitchen tool. With proper technique, care, and creativity, you can explore an endless array of flavors and dishes, making every meal a delicious exploration.
Leave a Comment